PythonとMaixSense A010
2024-07-13(土)
MaixSense A010 ToFセンサーの続き
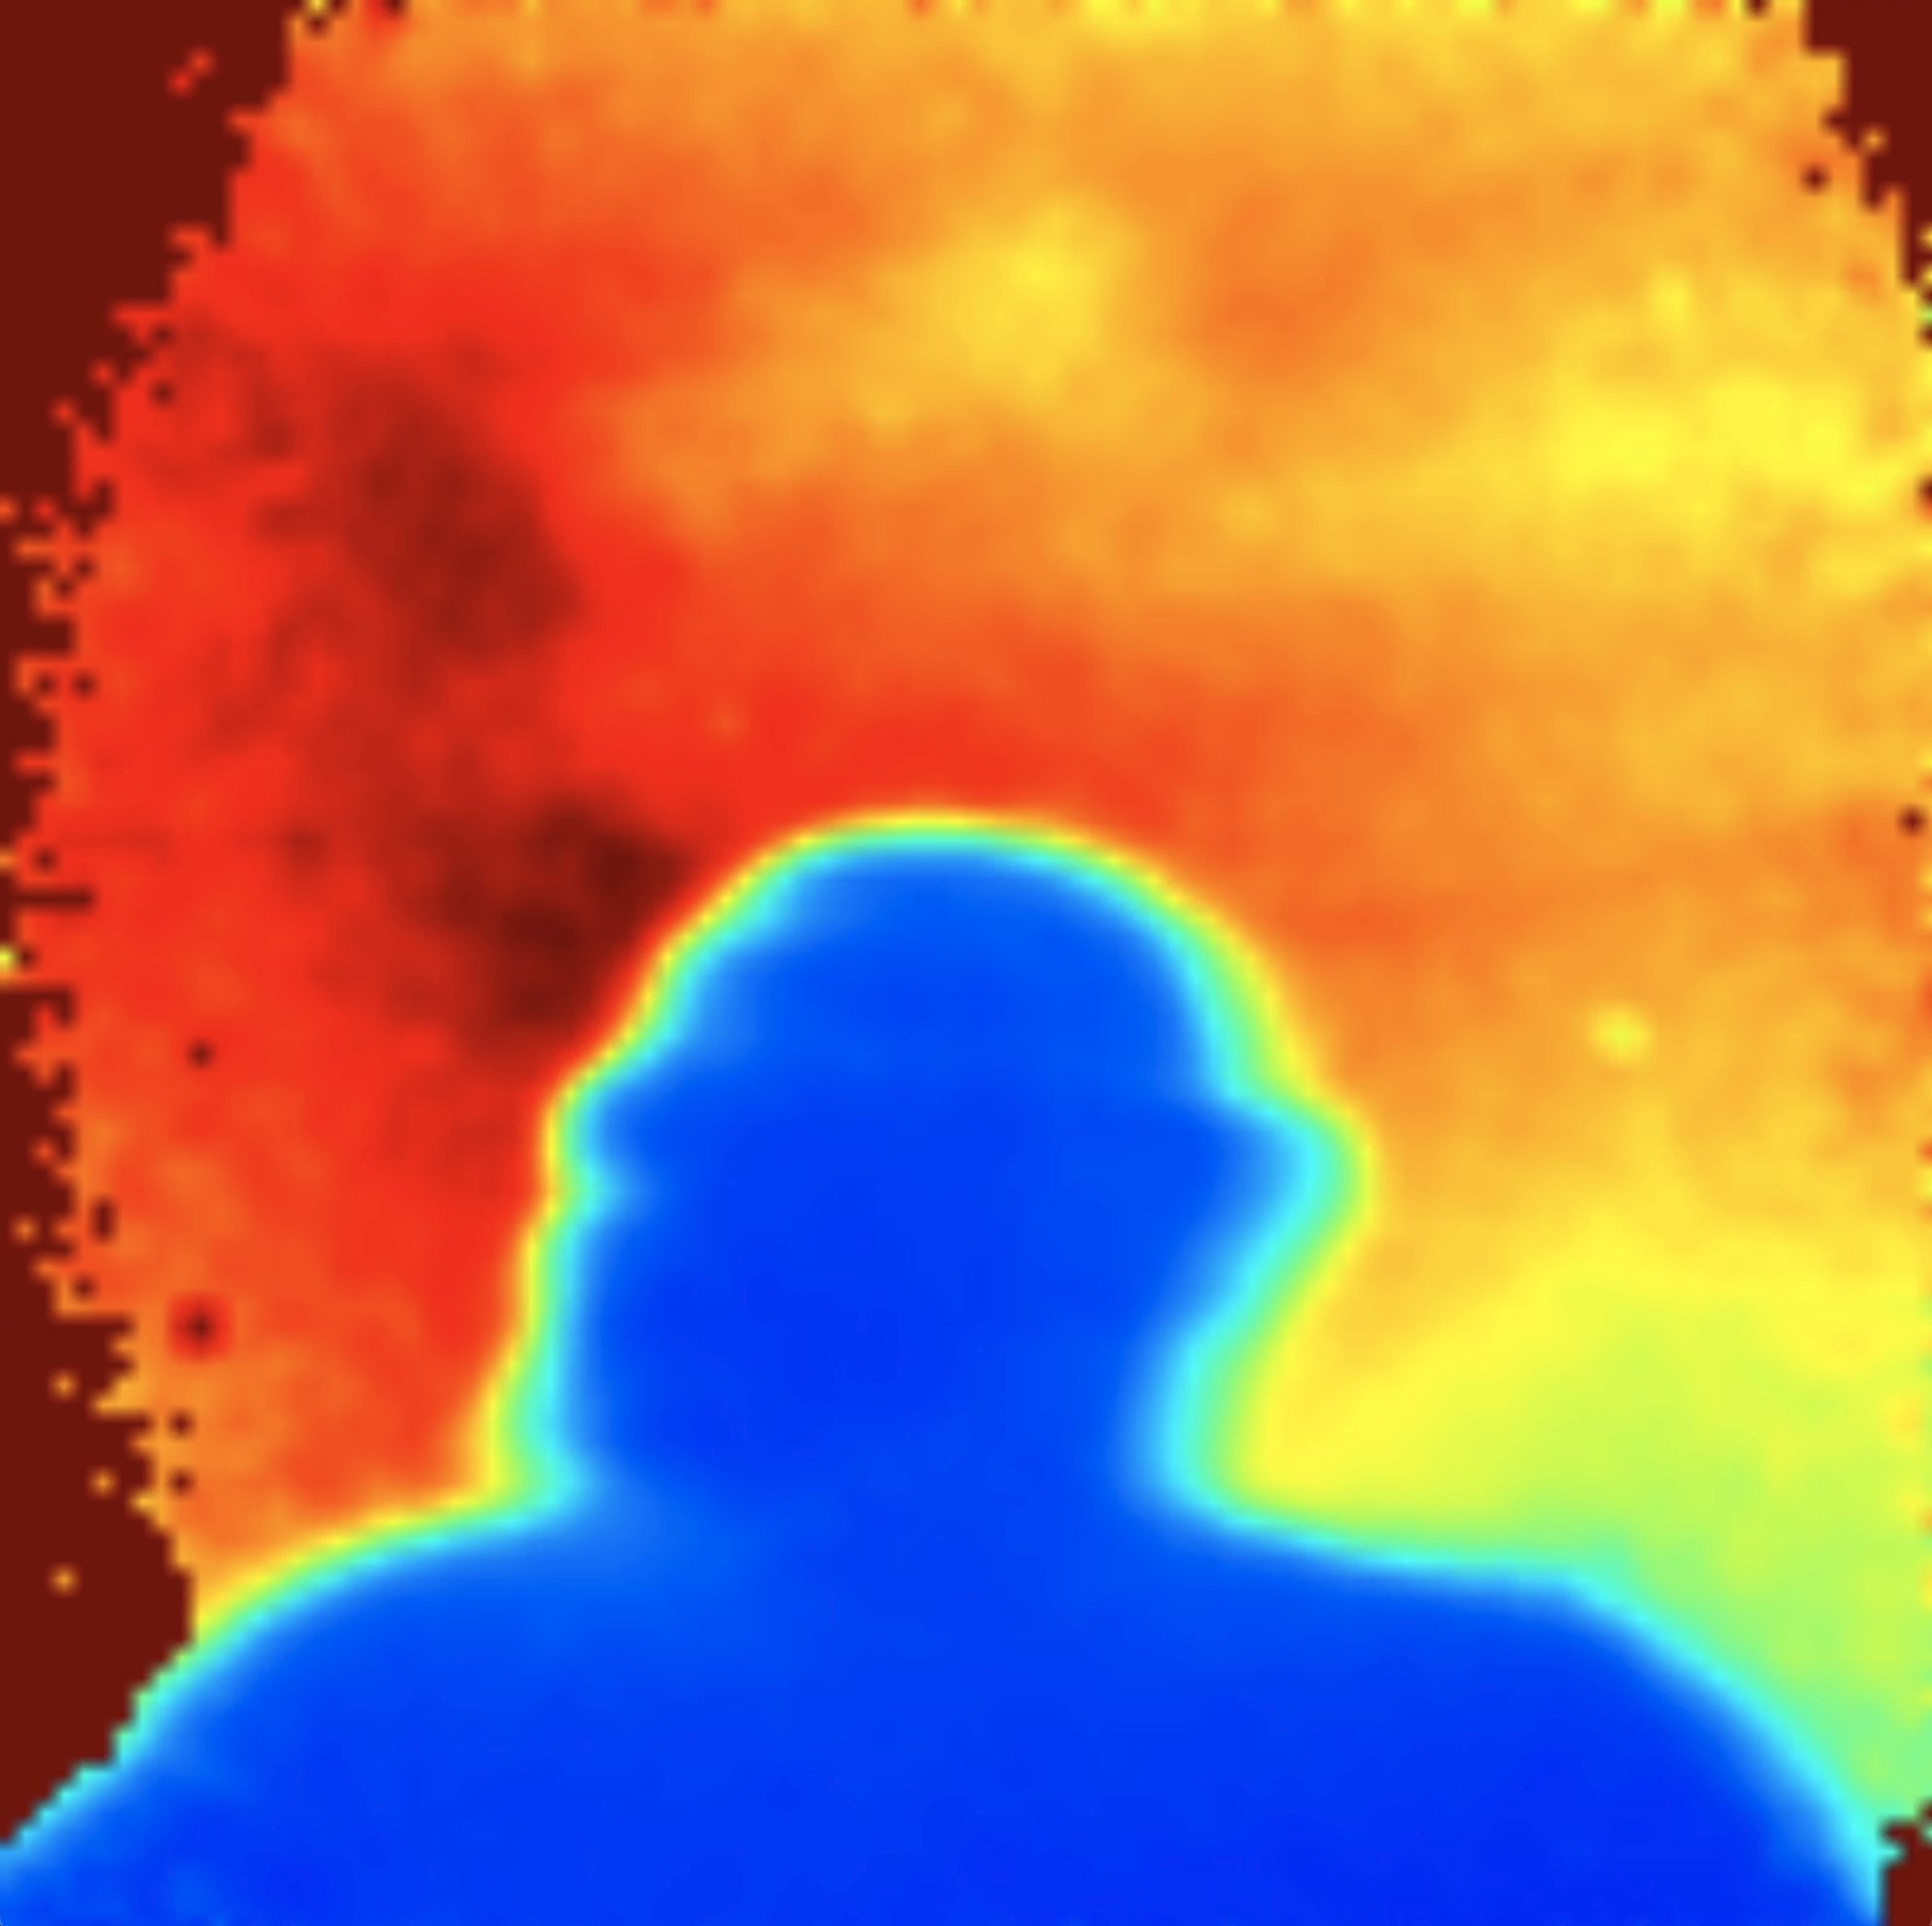
ROS2で使ってみたマルツで売ってる格安100x100 ToF (Switch Scienceは売り切れ)を今度はPythonで動かす。
- 技術情報
- ATコマンド一覧と説明
- 技術情報のページにあるキーボードを使ったデモのソース(maixsense-010-20220909-examples.zipにmetasense.pyとutils.pyが含まれる)
仕様的にPySerialでATコマンドを送れば使えて,実際そうやってるサンプルもネットに存在する。
もうちょいMaixSense周りの処理は簡単に表現してに使いたいと思ったら,手のトラッキングのデモがあった。 そのソースはPython-hand-detectで公開されていてmediapipeにDepthを渡している。
ソースを見るとfrom metasense import MetaSenseとあるものの,pypiにもcondaにも存在せず。上のキーボードを使ったデモのソースに含まれていた。これが正式な配布なのか不明。
pyserialは必要なので入れておく。 上記のキーボードを使ったデモのソースに含まれる,utils.pyとmetasense.pyを一緒に置いて実行する。 LCDやUARTに出すか出さないかで安定度がだいぶ変わる。
USBのみ出力にしておけば実測はしてないがFPS=19でヌルヌル動く

import time
import cv2
import numpy as np
from metasense import MetaSense

COM_PORT = "/dev/tty.usbserial-202206_E8C25B0"
BASE_BARTRATE = 115200

# sendCmdはちゃんとsleepで待つと有効
# 速いFPSを使いたい場合はDISPを絞る
# DISP=2: USBのみ (FPS=19でヌルヌル動く)
# DISP=3: USBとLCD (FPS=5くらいにしないと途中で固まる)
# UNITは1-9のときは UNIT mm刻みの画素値(1なら255で255mm)
# UNITは10まで良いと書いてあるが10にすると0の挙動になる
# UNIT=0のときは可視化重視モードでToFが近場の解像度が良いことから5.1*sqrt(x)らしい
QUANTIZE = 9 # mm が 濃度値1
DISP = 2
FPS=19

if __name__ == '__main__':
    # init metasense
    while True:
        try:
            metasense = MetaSense(COM_PORT, BASE_BARTRATE)
        except:
            time.sleep(0.1)
        else:
            if metasense.ser.is_open:
                break
    metasense.start()
    metasense.sendCmd("AT+DISP={}\r".format(DISP))
    time.sleep(1.0)
    metasense.sendCmd("AT+UNIT={}\r".format(QUANTIZE))
    time.sleep(1.0)
    metasense.sendCmd("AT+FPS={}\r".format(FPS))
    time.sleep(1.0)

    try:
        while True:
            frame = metasense.tof_data_queue.get()
            frame_id = frame['frameID']
            frame_res = frame['res']
            frame_data = frame['frameData'] # Depth
            frame_data0 = frame['frameData'] # 疑似カラー用

            frame_img0 = np.array(frame_data0, np.uint8).reshape(frame_res[0], frame_res[1])
            frame_img0 = cv2.flip(frame_img0, 1)
            frame_img0 = cv2.applyColorMap(frame_img0, cv2.COLORMAP_JET)

            # 濃度値100より遠いのは0 (UNIT=0のときは (th/5.1)^2 で,th=100で384mm)
            # UNIT:1-9のときは th*UNIT mm
            th = 100
            for idx,data in enumerate(frame_data):
                if(data > th): frame_data[idx] = 0
            # convert frame data to image
            frame_img = np.array(frame_data, np.uint8).reshape(frame_res[0], frame_res[1])
            # rotate image 180 degree
            frame_img = cv2.flip(frame_img, 1)
            color_img =  cv2.applyColorMap(frame_img, cv2.COLORMAP_JET)
            th_img = cv2.resize(color_img, (frame_res[0] * 10, frame_res[1] * 10))
            frame_img0 = cv2.resize(frame_img0, (frame_res[0] * 10, frame_res[1] * 10))
            cv2.imshow("frame0", frame_img0)
            cv2.imshow("th", th_img)
            cv2.waitKey(1)
    except KeyboardInterrupt:
        metasense.terminate()
        exit()